There are a lot of companies providing cloud services today: Amazons AWS, DigitalOcean, Heroku - just to name a few. Being an ARM-SoC-Fanboy however (well, I do too much RPi and Co stuff.. ^^'), I run into Packet.net - another cloud services provider - but with a little twist: Packet.net does offer Bare Metal Services. So you do not order "another VM", but the Hardware itself. They claim to have it provisioned within 8 Minutes (Source: https://www.packet.net/) and you also can use a ton of specialized stuff (some servers even got NVMe flash). But what really caught my attention, was the Type-2A server, an Cavium 96 Core ARMv8 @ 2GHz with 128 GB of DDR4 RAM and some SSD space - for 0,50 USD / hour (More Info here, here and https://www.packet.net/bare-metal/). So I decided to follow Packet.net on Twitter.
Full Disclosure: This was not a paid review, however, thanks to the guys over at Packet.net, I got 25 USD in Packet.net "currency" which I used to get an hand-on experience with their service - which I summed up in this review. (You can read the full discussion with the guys at Packet.net over on Twitter: https://twitter.com/nmaas87/status/808966172913733632).
With that being said, lets get started:
1.) Sign Up:
The process to register at Packet.net was fairly straight-forward: Just click on Signup, enter your Name, E-Mail and Password. However, at this stage you already had to enter details to either an Credit Card or directly link your details to an Paypal Account, which reminded me directly that this is going to be an paid service. Also, your Account will be tested by trying to transfer 1 USD from it. However, I wished that there would be a way to register without such details, as you can actually add members to a project afterwards - but not everyone in a corp should need to enter Credit Card Details imho (EDIT: This is possible after creating the initial Account via Inviting other ppl to the project). After this, you had to validate your E-Mail via the normal "get Mail, click Link"-Game. Then, after this was over, you had to enter your phone number and give them the sent code... And after this was over - you got the info that your account was suspended and needed to be verified manually. Ok, so I got another E-Mail within 20 minutes and got ask if I had an Social Media Account, so that they could line up my data with that... I sent them to my Twitter Account, and that checked out ok. However, that made the whole sign-up process come in in about 30 minutes. "You'll be spinning up servers in less than 8 minutes" - well, that looks kind of different :/. At that point in time, they actually got my Name, Mail, Phone Number, an valid payment account linked, as well as an Social Media Profile. Um, honestly I think - that is a bit too much.
2.) Console / Webinterface:
The Webinterface is quite nice and very usable, no problems there :)!

3.) Kicking the tires:
You actually create an project, link it to one of your payment accounts and get the possibility to add other Team Members via E-Mail Invite. Those people will be able to work within the project, however they won't be able to configure anything on the payment side, which is quite nice. I invited myself with another Mail Account and discovered, that I did not need to go through an "manual control" or payment service addition. However, I still had to "click that link" and do the SMS Code challenge. One nice thing to add here: You can actually use the same number for multiple accounts :).
Next thing to do, would be to add SSH keys. You can add Project SSH Keys, which are bound to "just the project", or personal SSH Keys which will be added to every server of every project you're a member of. 4096 Bit RSA worked fine, so.. Everything ok on that side. Additionally, you can add Two Factor Authentication (2FA) which I would personally use, if I were to use Packet.net on a real project.
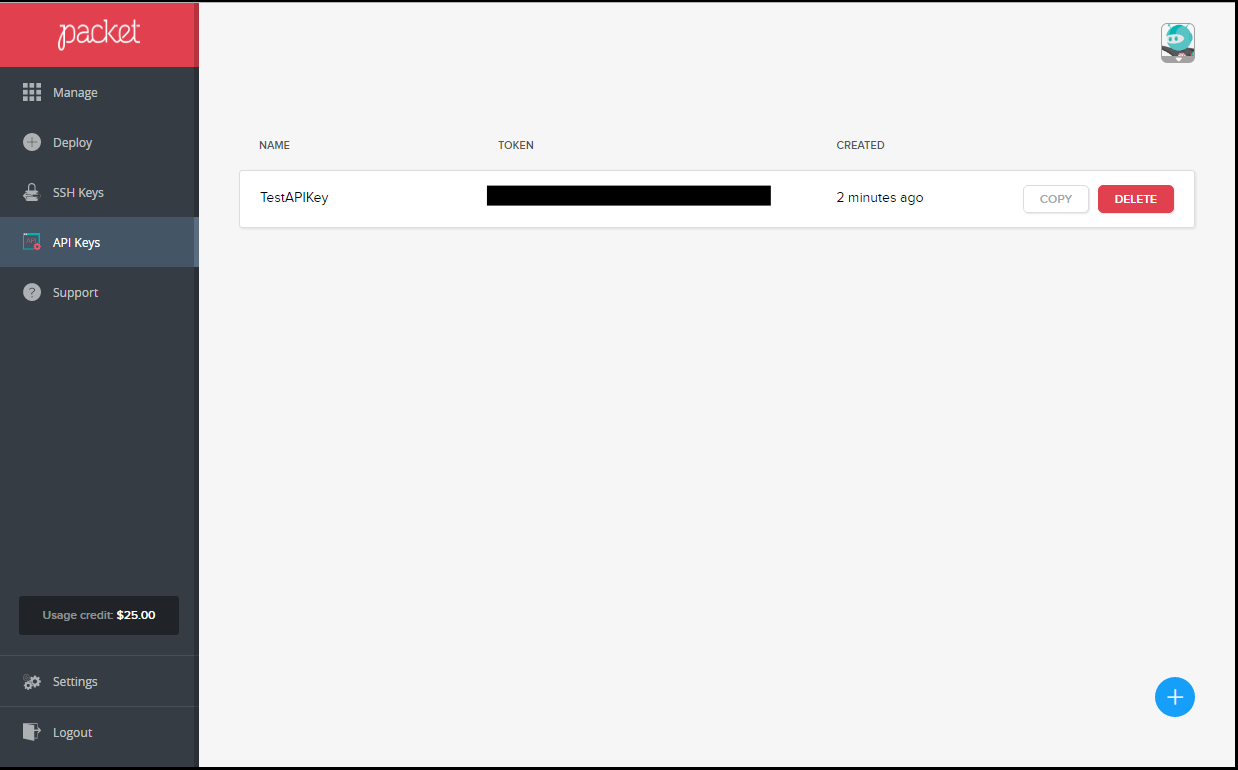
Last thing I did, was to add an API Key, so that I could try that as well.

The thing I really missed here, was some kind of "Help me" link, to the description of the API Interface. You can really easily find those by browsing to the Main Website, and going to Resources -> API Docs - however, it would be more User friendly to actually include a link on that page for the sake of getting the confused Admin faster to her/his/its goal ;). Especially, since they managed to include an "How to generate an SSH Key" link directly at the "Add SSH Key" section. By the way, the documentation for the API Interface, once found, is excellent - as well as the API Interface itself. I played a bit around with the Restful API and it seems as really every last bit of functionality is included in it, so, an real plus if you want to orchestrate your deployment a bit :).
Bonus Points: They even host different language bindings for their API, i.e. Python and Java on their Github Account: https://github.com/packethost/packet-python
The last thing to do, was to deploy a server - and that is quite easy:

Just enter the needed details, like the Type of Server you want to create, with what kind of OS and where should it be hosted. After clicking Deploy, the Server Deployment begins.

I created the server on 26.12.2016 at 16:45, thinking that not that many people should be playing around with Packet.net at that day. Complete deployment took 9 Minutes and 11 Seconds, so just over the advertised 8 Minutes - however, I still think that is more than ok :)!

The next thing you'll see, is the control panel for your server: It actual contains everything you need: From metering, to your IPs, Login credential - and even an root credential, as well as an Serial Console ("Console") and an Rescue OS ("Server Actions") as well as some reboot options and the usual. With the created SSH Key and the User root I was able to directly connect to my new ARMv8 Beast and started playing around.
First order of business was installation of Docker, however, I found out that the install script has an error (which I need to fwd to their github Repo soon), so I went with the lazy way and installed the usual docker.io Package from Ubuntu, which worked great. However, after installing and testing this, I run into issues by trying to get an ARMv6/ARMv7 Image from Resin.io running. However, an special created ARMv8 Debian Image worked.
Then, I went and tried some Multicore Stuff. I found a nice Python Pi Script on Gist and included some timeit stuff (https://gist.github.com/nmaas87/941b6934b51c90f462172ed63718b602).
Just to get an idea of how powerful that machine is: My main desktop, an AMD-8350 with "8" x 4 GHz Cores and 24 GB RAM went through 1.000.000.000 data points for their Monte-Carlo Simulation in 73.70 seconds. The Type-2A, with 96 Cavium ThunderX CN8890 @2GHz and 128 GB RAM did the same job in 34.14 seconds. Nice, not bad for an ARM :)!
In the end I also tried some speedtests in terms of their connectivity to the net, but the results were full of outliers, so I won't include them here.
4.) Conclusion
I think Packet.net does serve a quite unique purpose with their services: You get "raw" performance without any virtualization or sharing and for a good price point, if you would just need some special hardware for special occasions, like i.e. testing Docker or scientific experiments on huge multicore systems. They made "real" servers as easy to use as a VM and allowing to access this power via an really good documented API is a big plus.
I want to thank Packet.net for making this review possible :)!
And now, a nice picture of an fully working 96 Core ARMv8 😉
